Vinyl flooring is a popular flooring option that is known for its affordability, durability, and versatility. It is available in a variety of styles, colors, and patterns, making it a versatile flooring option that can work well in any room of your home or business. In this article, we will provide tips and tricks for a flawless vinyl flooring installation.
- Prepare the Subfloor
Before installing vinyl flooring, it is important to prepare the subfloor. The subfloor should be clean, level, and dry. Remove any old flooring, adhesive, or debris from the subfloor. If the subfloor is uneven, use a self-leveling compound to create a level surface.
2. Measure the Room
Measure the room where you will be installing the vinyl flooring. This will help you determine how much vinyl flooring you will need. Add an extra 10% to the total square footage to account for any waste or mistakes.
3. Choose the Right Type of Vinyl Flooring
Vinyl flooring is available in a variety of types, including luxury vinyl tiles (LVT), luxury vinyl planks (LVP), and sheet vinyl. Each type of vinyl flooring has its own installation method, so it is important to choose the right type for your project.
4. Acclimate the Vinyl Flooring
Before installing the vinyl flooring, acclimate it to the room where it will be installed. This will allow the vinyl flooring to adjust to the temperature and humidity of the room, which can prevent warping or buckling after installation. Leave the vinyl flooring in the room for at least 48 hours before installation.
5. Lay Out the Vinyl Flooring
Before installing the vinyl flooring, lay it out in the room to ensure a proper fit. Use a straight edge and a utility knife to cut the vinyl flooring to fit around any obstructions, such as doorways or cabinets.
6. Install Underlayment
If you are installing LVT or LVP, you may need to install underlayment. Underlayment can help reduce noise and provide a cushioned feel underfoot. Follow the manufacturer’s instructions for installing underlayment.
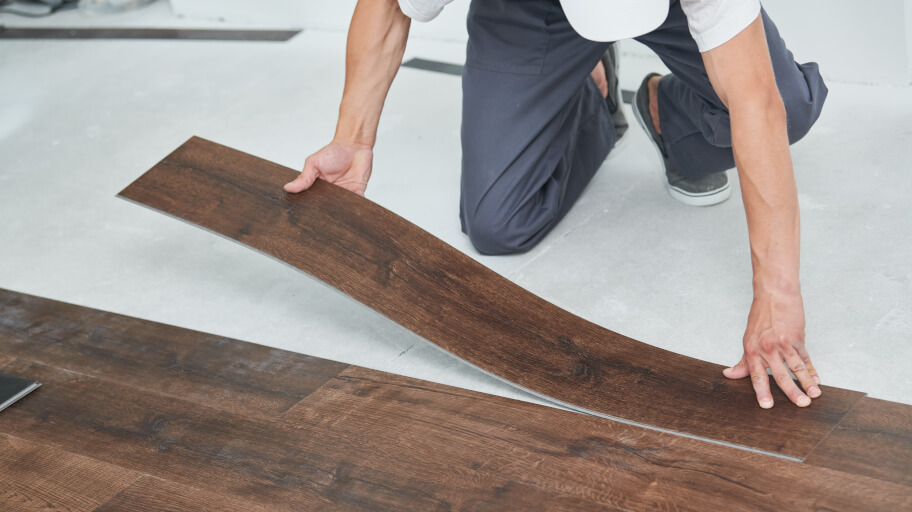
7. Install the Vinyl Flooring
Once the subfloor is prepared, the vinyl flooring is acclimated, and the underlayment (if necessary) is installed, it’s time to install the vinyl flooring. Follow these steps for a flawless installation:
- Start in the center of the room and work outward. Use a chalk line to mark the center of the room and lay the first row of vinyl flooring along the line.
- Use a vinyl flooring adhesive to secure the vinyl flooring to the subfloor. Apply the adhesive with a trowel, following the manufacturer’s instructions.
- Use a roller to press the vinyl flooring firmly into the adhesive. This will ensure a tight bond between the vinyl flooring and the subfloor.
- Continue installing the vinyl flooring, working row by row. Use a utility knife to cut the vinyl flooring to fit around any obstructions, such as doorways or cabinets.
- Once the vinyl flooring is installed, use a roller to press the seams together. This will create a seamless finish.
- Allow the Vinyl Flooring to Set
After installing the vinyl flooring, allow it to set for at least 24 hours before walking on it or placing furniture on it. This will allow the adhesive to dry and the vinyl flooring to fully bond to the subfloor.
2. Maintain the Vinyl Flooring
Vinyl flooring is easy to maintain. Sweep or vacuum the floor regularly to remove dirt and debris. Clean the floor with a vinyl flooring cleaner as needed. Avoid using abrasive cleaners or tools, as these can damage the vinyl flooring.


Leave a Reply