If you’re planning on painting your home, it’s important to take some essential first steps to ensure that the project goes smoothly and that the finished result looks great. The first step is to prepare the surfaces you’ll be painting. This involves cleaning the walls or other surfaces, removing any dirt, dust, or debris that may be present. You’ll also need to repair any cracks, holes, or other damage to the surfaces, as this will ensure that the paint goes on smoothly and evenly. Get the facts some common myths for water heaters to ensure you have accurate information when it comes to energy efficiency and maintenance.
Are you planning on painting your home but don’t know where to start? Prepping your home for painting is an essential first step to ensure a successful paint job that will last for years. In this article, we’ll guide you through the necessary steps to prep your home for painting and help you achieve a professional-looking finish.
- Clean and Clear the Area
Before starting any painting project, it’s important to clean and clear the area you will be painting. Remove any furniture, fixtures, and decorations from the walls and floors. Cover the remaining furniture and flooring with drop cloths to protect them from paint splatters and drips. Clean the walls thoroughly to remove any dirt, dust, or grease that may interfere with the paint’s adherence.
2. Repair Any Damages
Inspect the walls for any damages, such as cracks, holes, or dents, and repair them before painting. Use a spackling compound to fill any cracks or holes, and sand the surface to make it smooth. If there are any dents or dings, use a putty knife to apply a layer of joint compound and sand the surface after it has dried.
3. Prime the Walls
Priming the walls is an essential step in the prepping process, especially if you’re painting over a darker color or a glossy finish. Primer helps the paint adhere to the surface, covers any stains or marks, and prevents the paint from peeling or chipping.
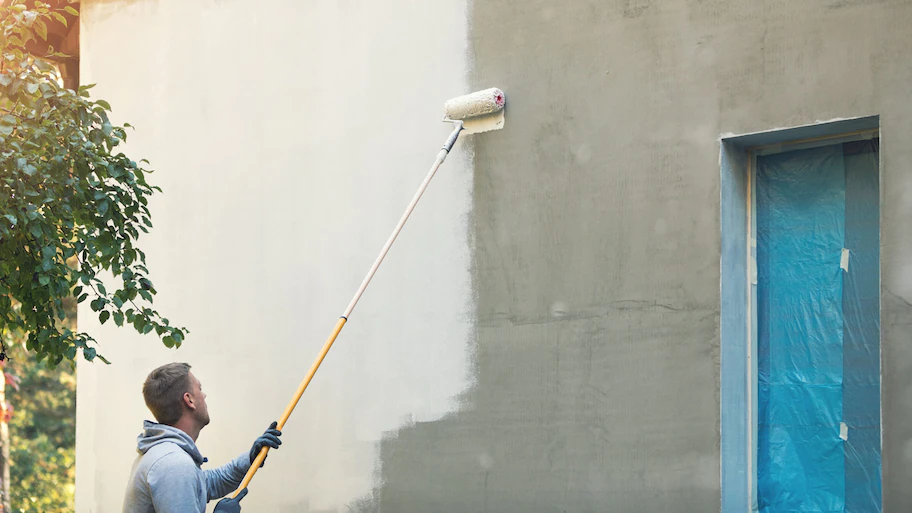
4. Protect the Areas You’re Not Painting
Use painter’s tape to protect areas you’re not painting, such as baseboards, door frames, and window trim. Apply the tape carefully, making sure it adheres to the surface and doesn’t leave any gaps. Remove the tape immediately after painting to prevent it from peeling off the fresh paint.
5. Choose the Right Paint
Choosing the right paint is crucial to achieving a professional-looking finish. Consider the type of surface you’re painting, the color and finish you want, and the quality of the paint. Higher-quality paint may be more expensive, but it will provide better coverage, durability, and resistance to fading and stains.
6. Use the Right Tools
Using the right tools is just as important as choosing the right paint. Invest in high-quality brushes, rollers, and other painting supplies to ensure a smooth and even application. Use a brush to cut in around edges and corners, and a roller to cover large areas. Don’t forget to clean your brushes and rollers thoroughly after each use to prolong their lifespan.
7. Apply Paint in the Right Order
When painting a room, start with the ceiling, then move on to the walls, and finish with the trim. This will prevent any drips or splatters from ruining the freshly painted walls. Use long, even strokes and work in small sections to avoid visible brush or roller marks. Allow the paint to dry completely before applying a second coat.
By following these essential first steps, you’ll be well on your way to prepping your home for painting and achieving a professional-looking finish that will last for years. Remember to take your time, use high-quality materials, and follow proper painting techniques to ensure a successful paint job. Happy painting!


Leave a Reply